
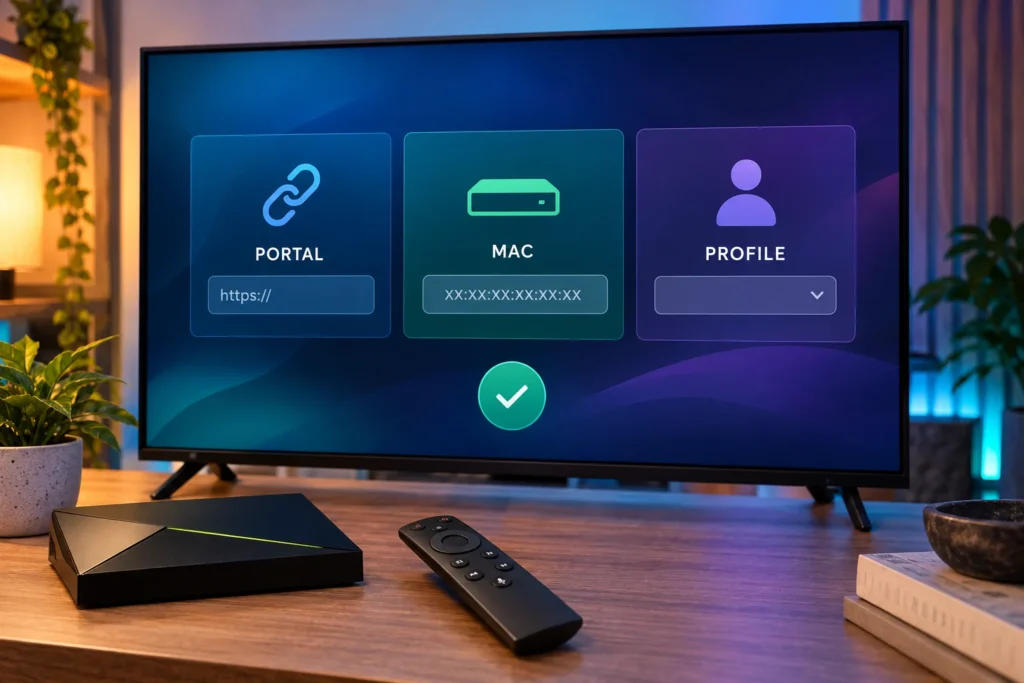
STBemu Stalker portal setup begins in Settings → Profiles. Open an existing profile or create another one, enter your provider’s full URL under Portal settings → Portal URL, then check the emulated MAC address under STB configuration. Make sure your IPTV provider has authorized that MAC address, save the profile, and load the portal. These menu names are documented by the StbEmu developer in its official profile guide.
This guide covers StbEmu Free and Pro on compatible Android devices, including Android TV and TV boxes. A Stalker portal subscription is separate from the player app. You need valid access to a service you are authorized to use; downloading the app does not provide channels.
Before you begin: the details you need
Have these items available before changing the application’s settings:
- A complete portal URL supplied by your service provider, including
http://orhttps://and any path or port specified. The publisher’s documentation requires a URL scheme. - The MAC address associated with your subscription. The address configured in StbEmu must be the one your provider recognizes, which may be an existing app-generated address.
- Any provider-specific STB model or device identity requirements. Don’t change model, firmware, device ID or serial number merely because another guide recommends a particular value.
- An Android device on which StbEmu is installed. You can obtain the Free or Pro versions from the publisher’s official download page. App availability depends on your device.
A portal URL is not the same as a website’s homepage. For illustration, a URL could look like https://portal.example.com/c/, but that example is not a working IPTV server. Enter the exact address your provider gives you rather than guessing a /c/, portal.php, or other ending.
How to add a Stalker portal to STBemu
Step 1: Open Settings and Profiles
Launch StbEmu. On a touchscreen, double-tap the screen to bring up the app menu, then select Settings. On devices using a mouse or air remote, move the pointer and select the on-screen menu. Remote-control behavior can vary by device.
Open Profiles. StbEmu creates a default profile on first launch, so you may edit it rather than creating a new one. If you use multiple authorized portals, create a separate profile for each so their settings stay organized.
Step 2: Name the profile
Open Profile name and enter something recognizable, such as Living Room or the name of the service. The name is only for identifying the profile inside the app; it isn’t a username or login credential. The StbEmu documentation requires a non-empty profile name.
Step 3: Enter your portal URL
Within that profile, choose Portal settings → Portal URL. Remove any default demonstration address and paste your provider’s full portal URL. Carefully check the protocol, hostname, port if supplied, and URL path. A missing character can prevent the portal from responding.
Use the exact address supplied for your subscription. Don’t replace http with https or append a path on your own: the required endpoint is determined by the provider.
Step 4: Check the MAC address in STB configuration
Return to the profile menu and open STB configuration → MAC address. This is the identity of the emulated set-top box, not necessarily your Android phone’s or TV box’s physical Wi-Fi MAC address.
The publisher explains that many portals expect the 00:1A:79 prefix, followed by six hexadecimal characters. An illustrative format is 00:1A:79:AB:12:CD. That format does not make an address valid for a particular subscription. Use the address assigned or registered by your authorized provider.
If the app displays 00:1A:79:00:00:00, the developer notes that Android restrictions on some Wi-Fi-only devices can cause this default. Contact your provider about registering a suitable unique address before changing the setting. Do not use another subscriber’s MAC address or attempt to circumvent access controls.
Step 5: Check STB model and other identity options only if required
Under STB configuration, StbEmu provides an STB Model setting and options for firmware, serial number and device IDs. The developer says that Generic firmware is usually the default choice. Leave the existing settings unchanged unless your provider has a specific requirement or you are diagnosing a documented compatibility problem.
The Device ID, Device ID 2, and signature controls are distinct from the MAC address. Resetting or replacing these may affect a portal that recognizes your existing device identity; don’t change them casually.
Step 6: Save, select and load the profile
Return from the settings screens, select the configured profile and load or reload its portal. Exact navigation controls can differ by Android device and app version.
If your provider has authorized the profile and the server is responding, the service’s interface should load. Available channels and features come from that subscription, not from StbEmu itself.
STBemu portal configuration: the settings at a glance
| Setting | Where to find it | What to enter |
|---|---|---|
| Profile name | Settings → Profiles → Profile name | Any clear name for your own reference |
| Portal URL | Profiles → Portal settings → Portal URL | The exact full URL supplied by your provider |
| MAC address | Profiles → STB configuration → MAC address | Your authorized, provider-registered emulated address |
| STB Model | Profiles → STB configuration → STB Model | The existing/default model unless your provider specifies otherwise |
| Firmware | Profiles → STB configuration → Firmware | Usually the default Generic firmware |
| Device ID | Profiles → STB configuration → Device ID | Leave unchanged unless the provider specifically needs it |
For the full list of fields, consult the StbEmu publisher’s profile documentation.
What to do when your Stalker portal doesn’t load
The app shows an authorization or blocked-device message
First compare the MAC address in STB configuration with the one your provider has registered. A correctly formatted MAC is not sufficient unless the account is authorized. Confirm that the service is active and ask the provider whether it requires any additional registered identity fields. Do not keep generating alternative MAC addresses to work around an authorization rejection.
The portal stays blank or keeps loading
Check the URL character by character, including its scheme and any port and path. Verify that your device can access the internet. Then ask your provider whether the portal server and your account are active. A blank screen alone cannot distinguish a malformed URL from an unavailable server.
The portal loads, but no channels appear
This is different from a connection failure. Verify the subscription’s channel entitlements and account status with your provider, and check whether the portal has a separate Live TV menu. Replacing the app or changing the MAC address may not solve a server-side channel-list problem.
The menu works, but video will not play
Try another channel first. If the problem affects only one stream, it may be specific to the source. If multiple channels fail, check network stability and the app’s Media player settings. The official documentation lists the Exo player as the default and says it is preferred on most devices. Change player settings carefully, recording the original selection so you can restore it.
The profile works and then stops after a change
Return to the last known working URL, model and identity settings. Confirm whether your provider updated your access or moved the portal. If you clear the app’s data or reinstall without recording the profile details, you may need to reconfigure it from scratch.
Can you use Xtream Codes or an M3U URL in the same profile?
A Stalker portal setup is not the same as an Xtream Codes username-and-password login or an M3U playlist. StbEmu is built for emulating Stalker/MAG-style portal access; its developer explicitly says the app does not supply or index playlists. If your provider gives you only an Xtream login or M3U link, confirm the compatible application before trying to enter those details into the Portal URL field.
For a broader explanation of the player and subscription distinction, read What Is STBemu?. For installation help before configuration, use the STBemu download and device setup guide.
Conclusion
To complete STBemu Stalker portal setup, use Settings → Profiles to enter the exact portal URL, then verify the emulated MAC address under STB configuration. Keep the default STB model and device-identity settings unless your provider tells you to change them. If the portal rejects the profile, establish that your subscription and MAC registration are valid before experimenting with other settings.
If you still need a suitable subscription, request a trial and confirm your app, device, wanted channels and connection format before committing to a plan.